Managing Community Documents
System Managers may upload and edit the title and description of documents in their Community.
Adding Community Documents
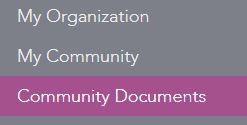
- Select Community Documents from the Navigation Menu.
- Click New Document.
- Complete the fields for title and description.
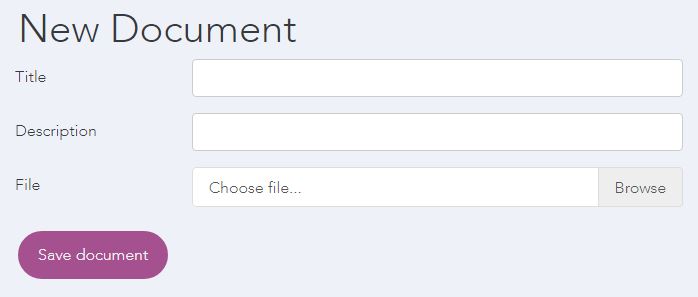
- Choose the file you would like to upload by selecting Browse and then double-clicking the file from your computer.
- Click Save Document.
Editing Community Documents
- Select Community Documents from the Navigation Menu.
- Click Edit at the end of the title for the document you would like to edit.

- Complete the fields for title and description.
- Click Save Document.
Removing Community Documents
- Select Community Documents from the Navigation Menu.
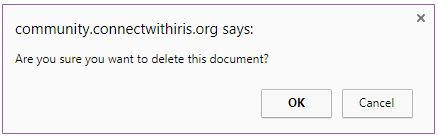
- Click the X at the end of the title for the document you would like to remove.

- Click OK on the confirmation message.